Blackening Brass Model Cannons
Blackening Brass Model Cannons
A complete step-by-step guide to blackening and finishing brass model cannons. Below you will find four different methods for creating the dark metallic appearance characteristic of historical cast-iron guns.
Method 1: Chemical Blackening of Brass
1. Degreasing and Surface Activation
- Degreasing: Submerge the cannons for a few minutes in acetone or isopropyl alcohol (IPA), or scrub them with an old toothbrush in hot water with dish soap.
- Metal activation: Submerge the parts in ordinary household vinegar for 1–2 minutes to remove the invisible oxidized surface layer and expose clean bare metal.
- Rinsing: Rinse the cannons in clean water. From this point onward, do not handle them with bare hands; use tweezers or gloves only.
2. Chemical Blackening
For best results, use a dedicated chemical blackening solution suitable for brass parts. Availability differs between regions, so the following products are practical examples for European and North American modelers.
EU / Europe:
Recommended products include AK Interactive AK174 Photoetch Burnishing and AMMO by Mig Jimenez A.MIG-2021 Photoetch Burnishing Fluid. Both are suitable for treating brass model parts and turned brass barrels.
Recommended products include AK Interactive AK174 Photoetch Burnishing and AMMO by Mig Jimenez A.MIG-2021 Photoetch Burnishing Fluid. Both are suitable for treating brass model parts and turned brass barrels.
USA / North America:
A particularly suitable and widely known option is Birchwood Casey Brass Black, designed for blackening brass, copper and bronze. AK Interactive and AMMO products can also be used where available.
A particularly suitable and widely known option is Birchwood Casey Brass Black, designed for blackening brass, copper and bronze. AK Interactive and AMMO products can also be used where available.
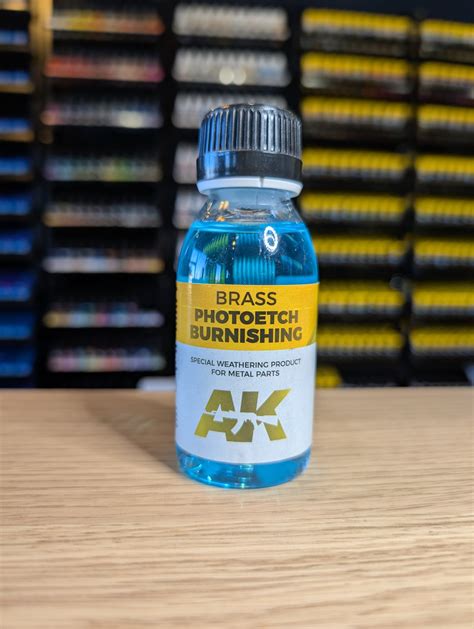
Photoetch Burnishing – recommended EU option
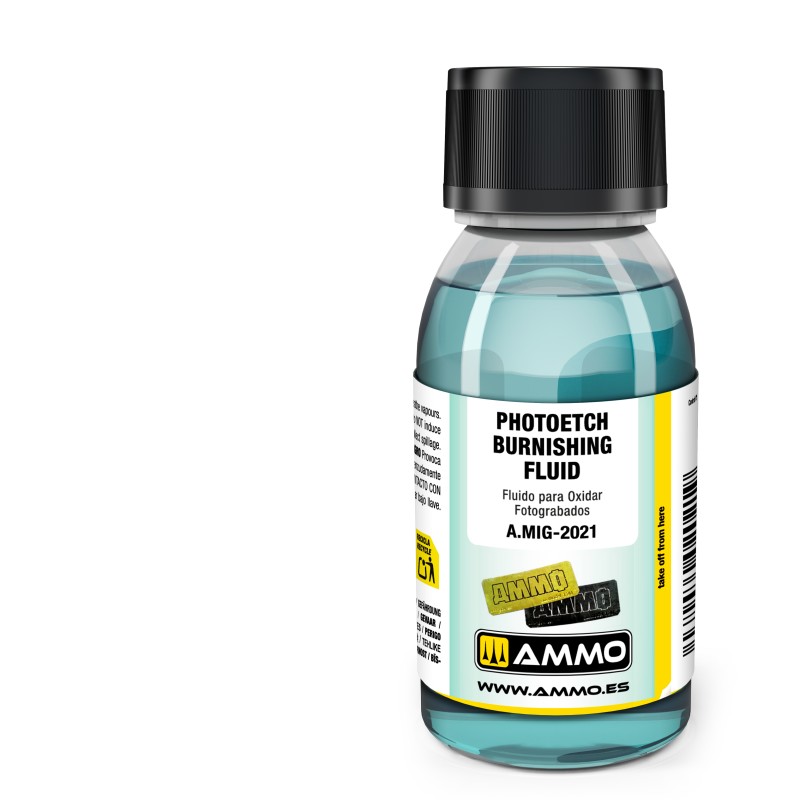
Photoetch Burnishing Fluid – EU alternative
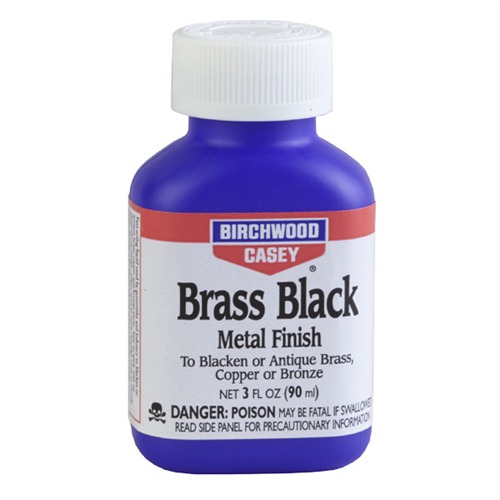
Recommended USA / North America option
- Submerge the cannons in the blackening solution, ideally suspended on a thin thread or wire.
- Gently move the parts in the bath, or stir the solution, to prevent air bubbles from forming and to ensure that the chemical acts evenly over the entire surface.
- After approximately 30 seconds to 3 minutes, once the metal has darkened, remove the cannons and immediately rinse them thoroughly in clean water to stop the chemical reaction.
- Allow the cannons to dry completely on a paper towel.
3. Buffing Off Loose Oxidation
- After drying, a fine layer of loose black reaction residue will remain on the surface.
- Use a cotton swab, a soft microfiber cloth or, if slightly stronger polishing is required, extra-fine 0000 steel wool.
- Gently buff the surface. Removing the loose residue reveals the developed patina and gives the cannon a smooth, satin-matte metallic finish. When using steel wool, apply only very light pressure to avoid removing the patina.
4. Stabilization and Final Protection
Choose one of the following finishing options:
- Oiling – realistic cast-iron appearance: Apply a drop of gun oil, such as Ballistol, or linseed oil and immediately wipe it completely dry with a cotton swab. The oil stabilizes and darkens the patina and gives the surface the realistic sheen of oiled metal.
- Microcrystalline wax – dry protection: Apply a very thin layer of wax, such as Renaissance Wax, and lightly buff it after drying. The surface remains dry, non-sticky and free from an oily film while the metal is effectively sealed.
- Matte clear coat – base for further weathering: If you plan to apply additional weathering products such as washes, pigments or powders, seal the surface with a light coat of matte clear spray such as Tamiya TS-80 Flat Clear.
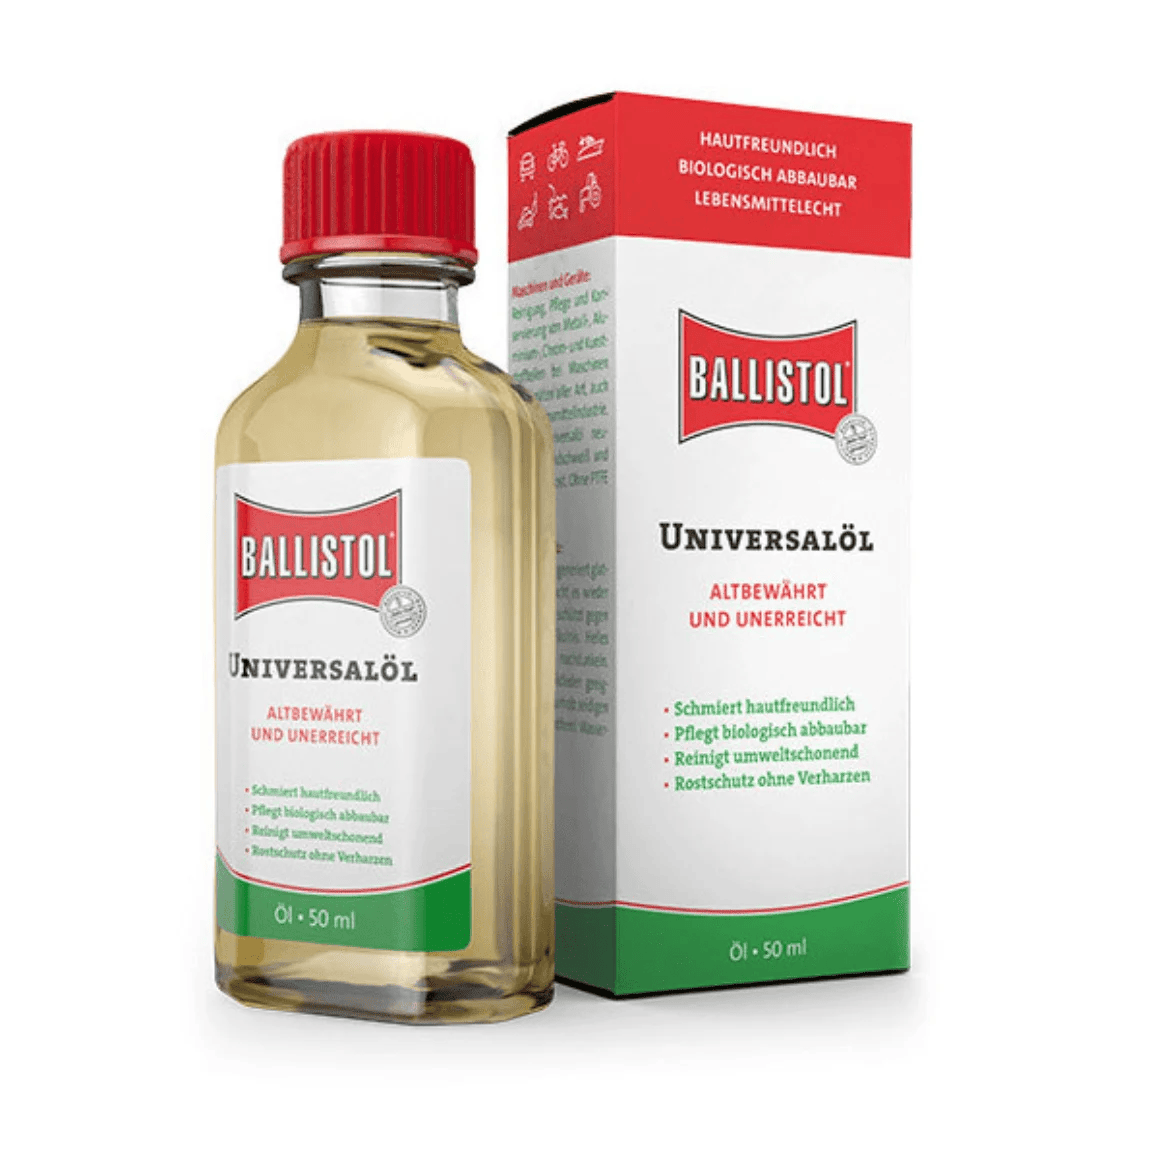
Oil protection and patina enhancement
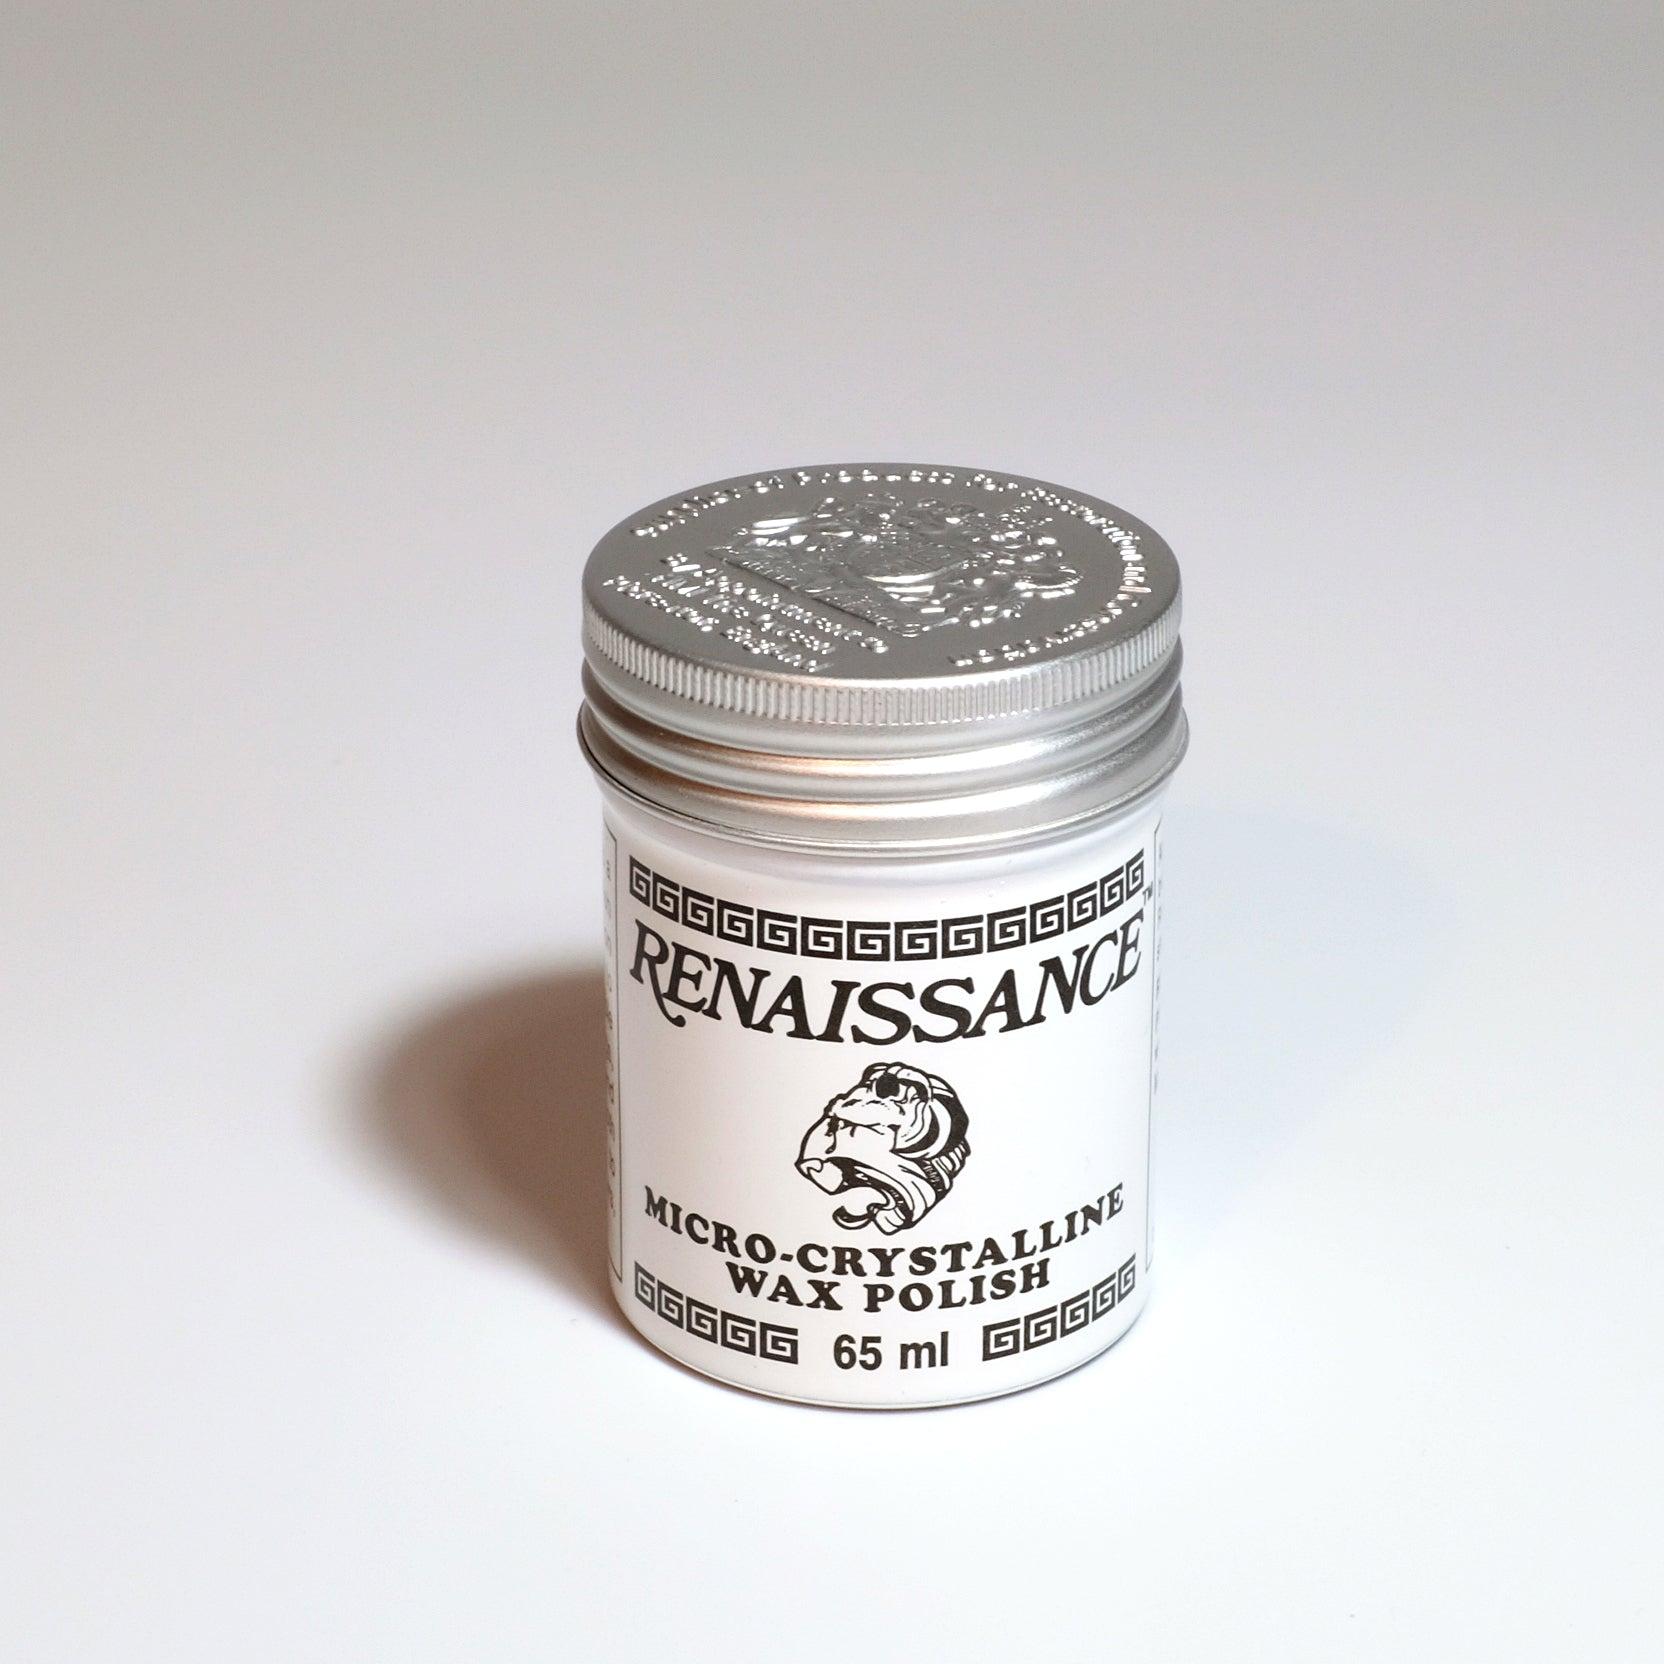
Microcrystalline wax for dry protection
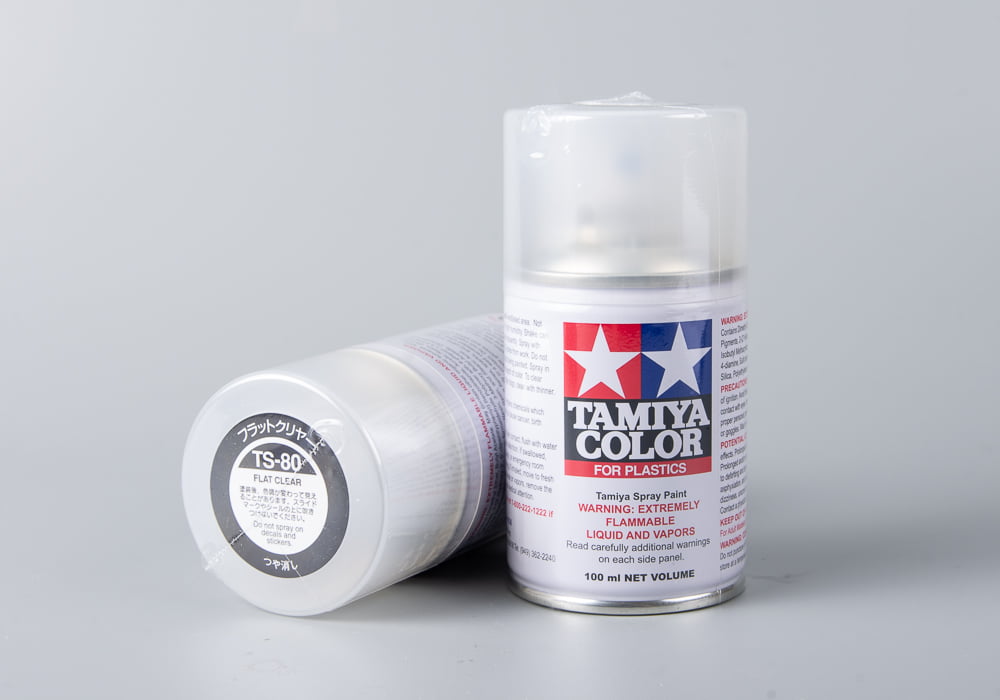
Matte transparent protective coat
Method 2: Graphite Powder – Highly Realistic Cast-Iron Appearance
1. Surface Degreasing
- Clean the cannons in acetone or isopropyl alcohol (IPA) to remove any machining oil remaining on the brass after turning.
2. Applying a Matte Black Primer
- Apply a matte black primer to the clean brass, for example Mr. Finishing Surfacer 1500 Black, Tamiya Surface Primer Black, or another suitable matte black metal primer.
- Allow the primer to dry and cure completely. The matte surface creates an ideal microtexture for the graphite to adhere to.
3. Applying and Buffing the Graphite
- Pick up a small amount of fine graphite powder using a cotton swab, foam applicator or soft brush.
- Gently rub the powder onto the matte black base using circular motions.
- The graphite works into the matte surface and within seconds creates a dark metallic sheen resembling a cast-iron cannon.
4. Finishing
- Gently blow away or brush off any excess loose graphite powder.
- For maximum metallic effect, do not apply a clear topcoat. If the model will be handled frequently, a very light coat of matte varnish can be applied, although this will slightly reduce the metallic sheen.
Method 3: Buffable Metallic Paints
Buffable metallic paints provide another effective way to reproduce the dark metallic appearance of historical iron cannon barrels.
EU / Europe:
Recommended options include Mr. Metal Color MC214 Dark Iron and Humbrol Metalcote Gunmetal.
Recommended options include Mr. Metal Color MC214 Dark Iron and Humbrol Metalcote Gunmetal.
USA / North America:
Mr. Metal Color MC214 Dark Iron is also a suitable choice where available. Equivalent buffable gunmetal or dark-iron metallic paints can be used in the same way.
Mr. Metal Color MC214 Dark Iron is also a suitable choice where available. Equivalent buffable gunmetal or dark-iron metallic paints can be used in the same way.
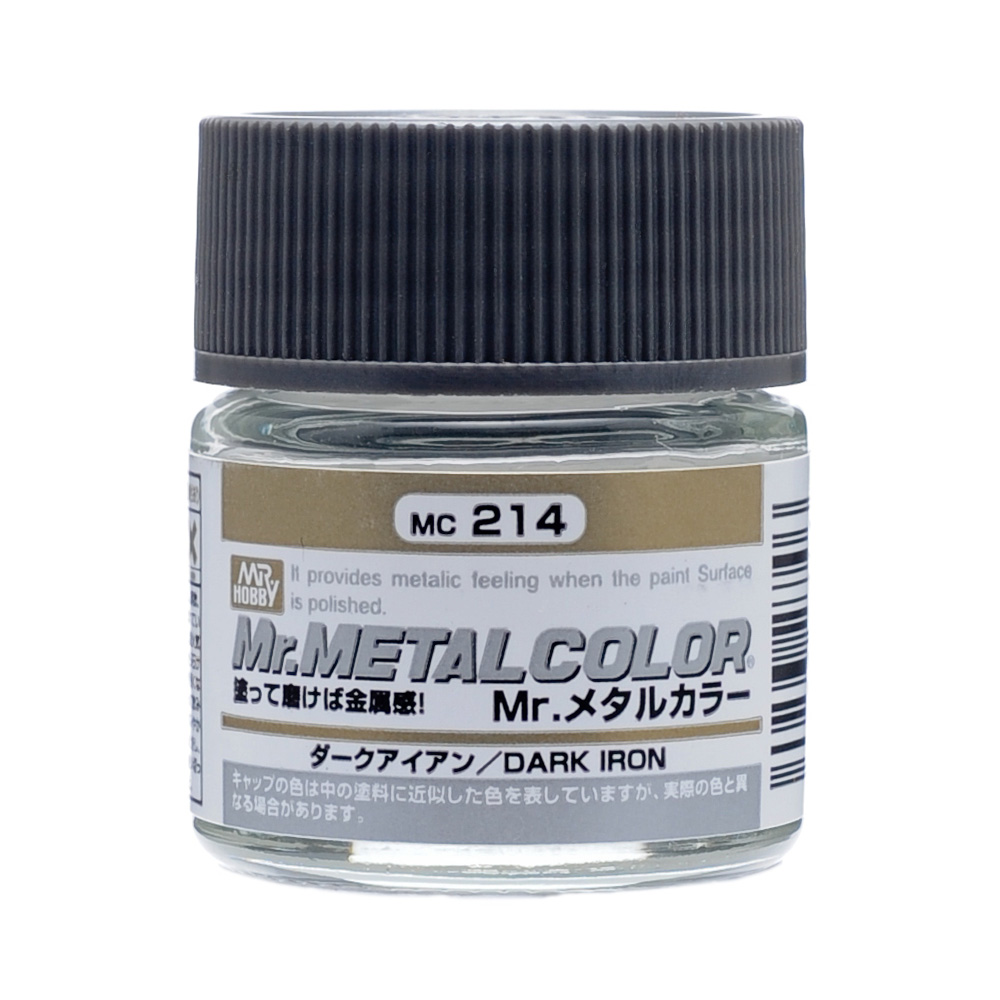
Buffable dark metallic paint
1. Metal Degreasing
- Submerge the cannons in isopropyl alcohol (IPA) or acetone for a few minutes and allow them to dry.
2. Applying the Buffable Paint
- Apply the buffable metallic paint with a brush or airbrush, for example Mr. Metal Color MC214 Dark Iron or Humbrol Metalcote Gunmetal.
- Apply one or two thin coats to avoid filling the fine grooves and turned details on the cannon barrel.
- After application, the paint dries within a few minutes and initially appears very dull or flat.
3. Buffing the Surface
- Once completely dry, approximately 10–15 minutes, use a cotton swab, soft cotton cloth or soft brush.
- Gently buff the surface. As the paint is polished, it changes appearance and develops a convincing metallic sheen.
4. Sealing
- These paints remain sensitive to handling and fingerprints after polishing. If you plan to weather or frequently handle the cannons, seal them with a light coat of Mr. Metal Primer or a thin matte or satin clear coat.
Method 4: Tamiya Acrylic Paints – Classic Painting Method
1. Thorough Degreasing
- Acrylic paint does not adhere well to smooth untreated brass. Degrease the cannons thoroughly in acetone or IPA and avoid touching them with bare hands from this point onward.
2. Applying a Metal Primer
- Apply a clear metal primer to the clean brass as the first layer, for example Tamiya Metal Primer or Mr. Metal Primer, either from a spray can or with an airbrush where appropriate.
- Allow the primer to dry for approximately 15–30 minutes. This layer creates the necessary bonding bridge between the metal surface and the acrylic paint.

Primer for metal parts
Matte black acrylic paint
3. Painting with Tamiya Acrylics
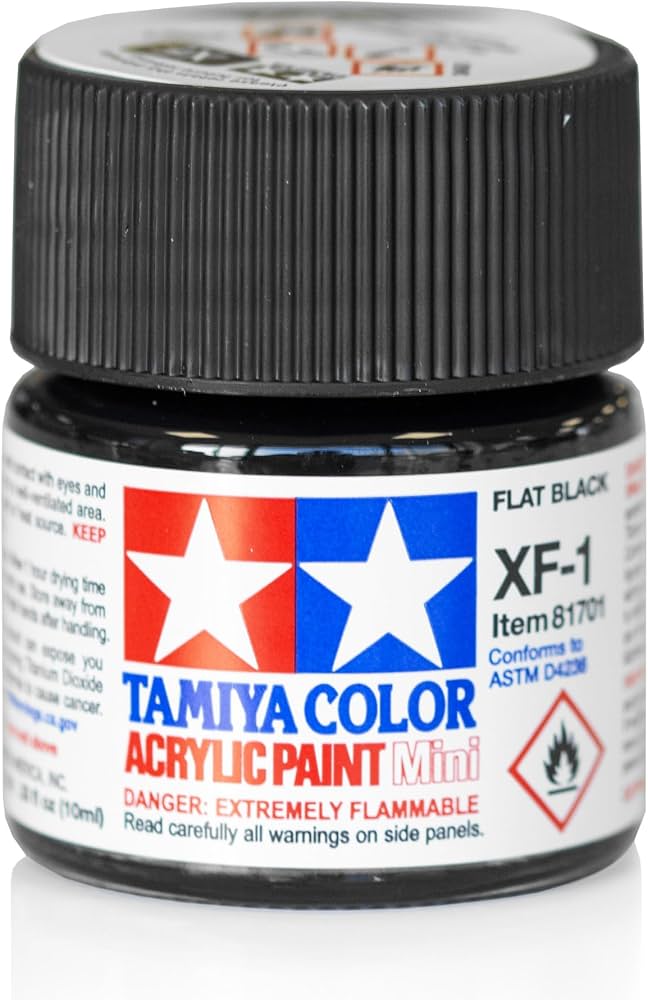
- Apply a dark gray or black Tamiya acrylic paint over the prepared primer, for example XF-1 Flat Black or XF-69 NATO Black.
- For additional depth, once dry you can use the drybrushing technique with a lighter gray or metallic shade, such as XF-56 Metallic Grey, lightly highlighting the edges of the cannon.
4. Sealing
- Finally, seal the cannon with a coat of matte clear varnish such as Tamiya TS-80 Flat Clear. This evens out the overall sheen and protects the paint from abrasion.