
Veneer decks manual
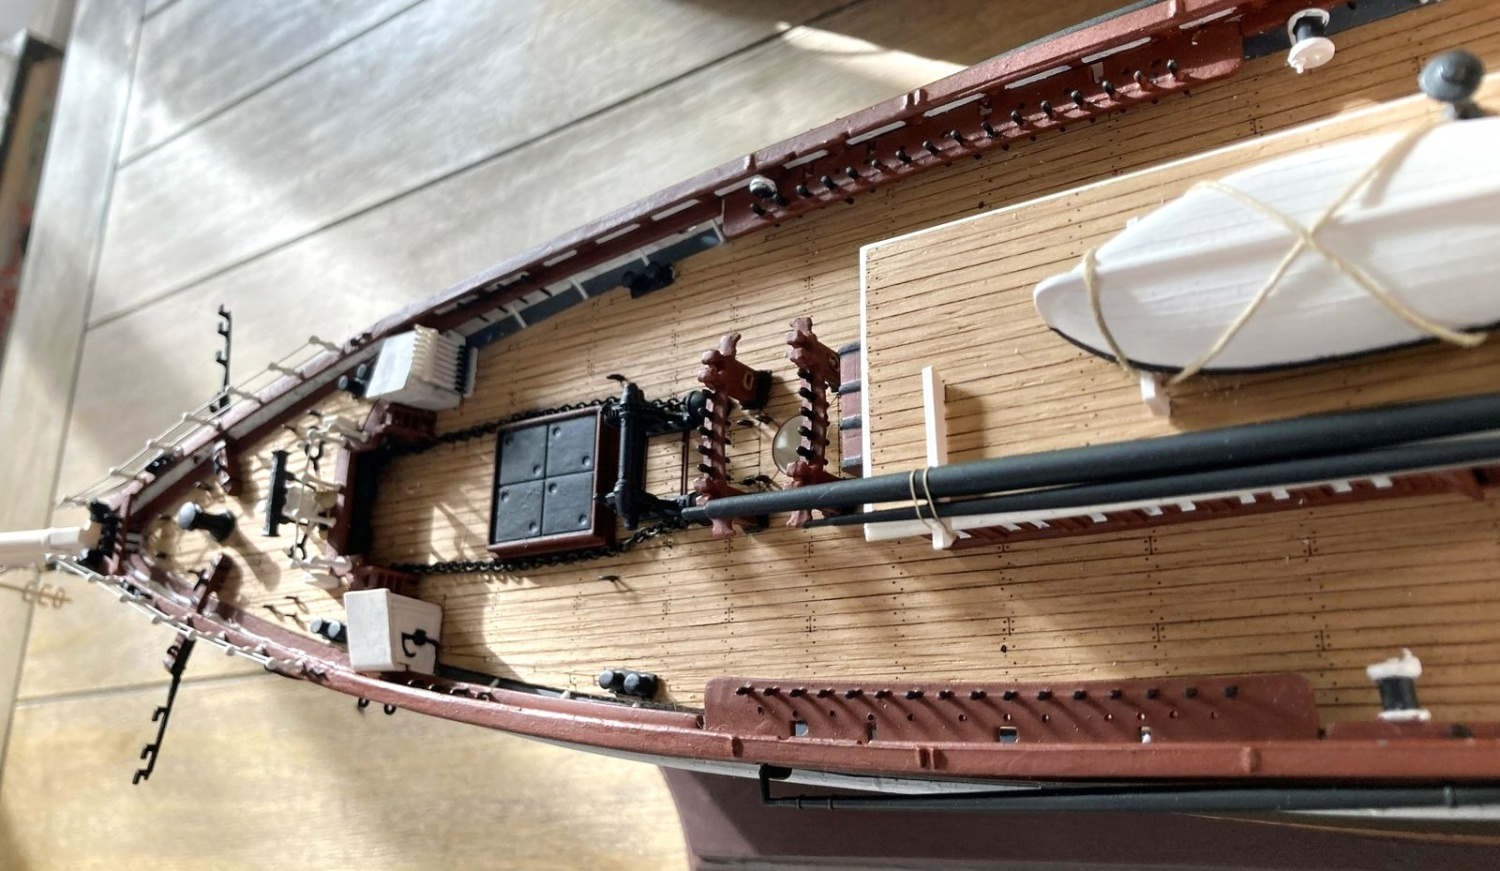
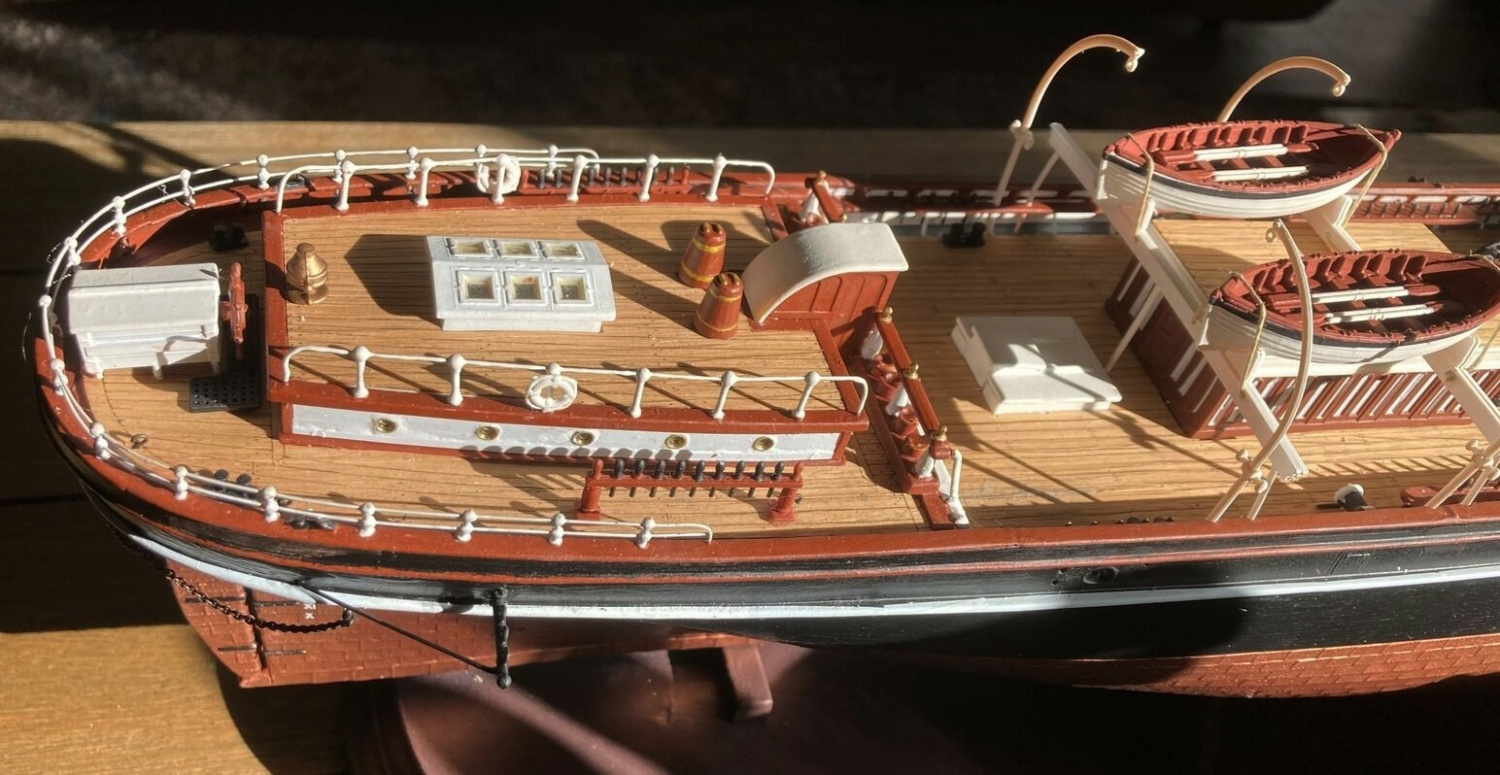
Every passionate modeler wants his model to look as close to reality as possible. Wooden - veneer decks, which do not need to imitate the appearance of wood, can help to achieve this. In addition, the decks are marked in the veneer to match the boat construction practices of the time. The design of the perimeter planking is called "waterway". The laying of the individual planks and their termination in the waterway, especially at the bow by so-called "hooking" and tapering towards the bow and stern. Marking out the pins which were used to nail the deck to the timbers holding the deck, the so-called "treenline". The position of the planking corresponds exactly to the design of the ship.
By using our decks you will significantly increase the aesthetic appearance of your model and at the same time you will get closer to its real appearance (ship construction plans were used as templates for the decks).
Brief video tutorial on gluing wooden decks
Material:
The decks are manufactured by CNC laser burning on a custom made veneer strip. Only high quality, specially treated veneer is used, which is glued to the felt strip for added strength. The felt strip guarantees increased mechanical resistance of the product - high flexibility and resistance to cracking. At the same time, the dispersion felt surface makes it easier to glue the deck to the plastic parts of the model. The veneer is then sanded and polished to a total thickness of 0.3mm.
The veneer itself is selected to give a solid surface appearance, with minimal annual years pattern. Therefore, light oak, pear or beech is used as the material - the decks can be ordered in these shades.
The procedure of gluing a veneer deck:
If you want to use a veneer deck, you must take this into account almost from the beginning of the construction of the model.
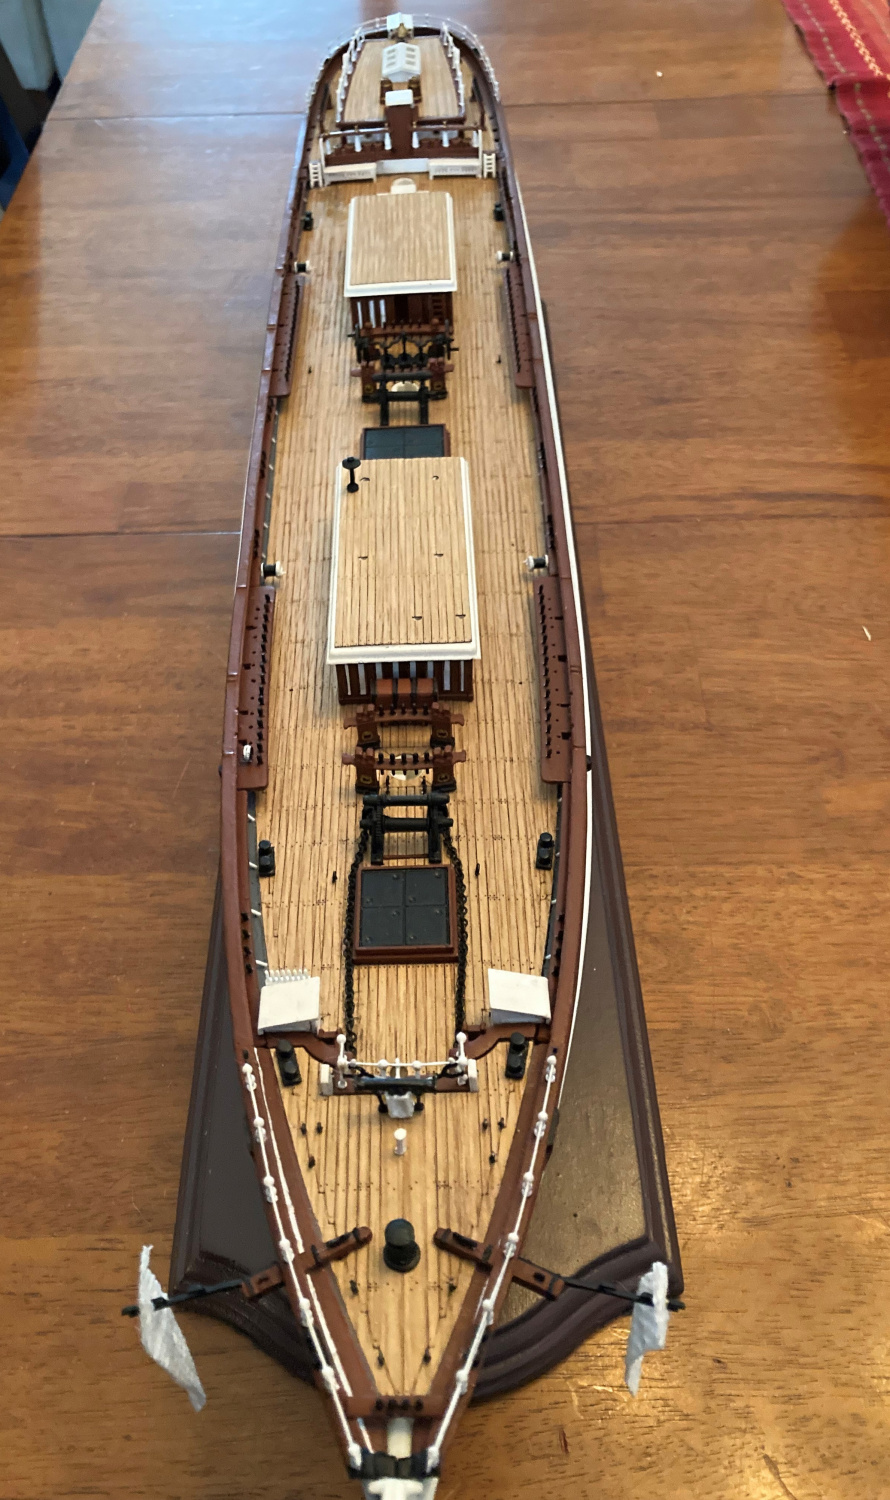 fig. 1
Note: Although the veneer is glued, it is relatively fragile, so handle with care! Take particular care to avoid cracking the narrow spaces in the deck between the deck openings, and damaging the deck perimeter when preparing to glue. And in the event that a crack does occur, tape the crack with fine paper - ideally tissue paper.
1) Preparation of the plastic base:
Some plastic decks have coils of rope on the surface in addition to the necessary protruding parts (such as hatches and other imitations). On the Glorieux and Superbe models by Heller there are recesses for cannonballs. All of this has to be removed with a scalpel or abrasive.
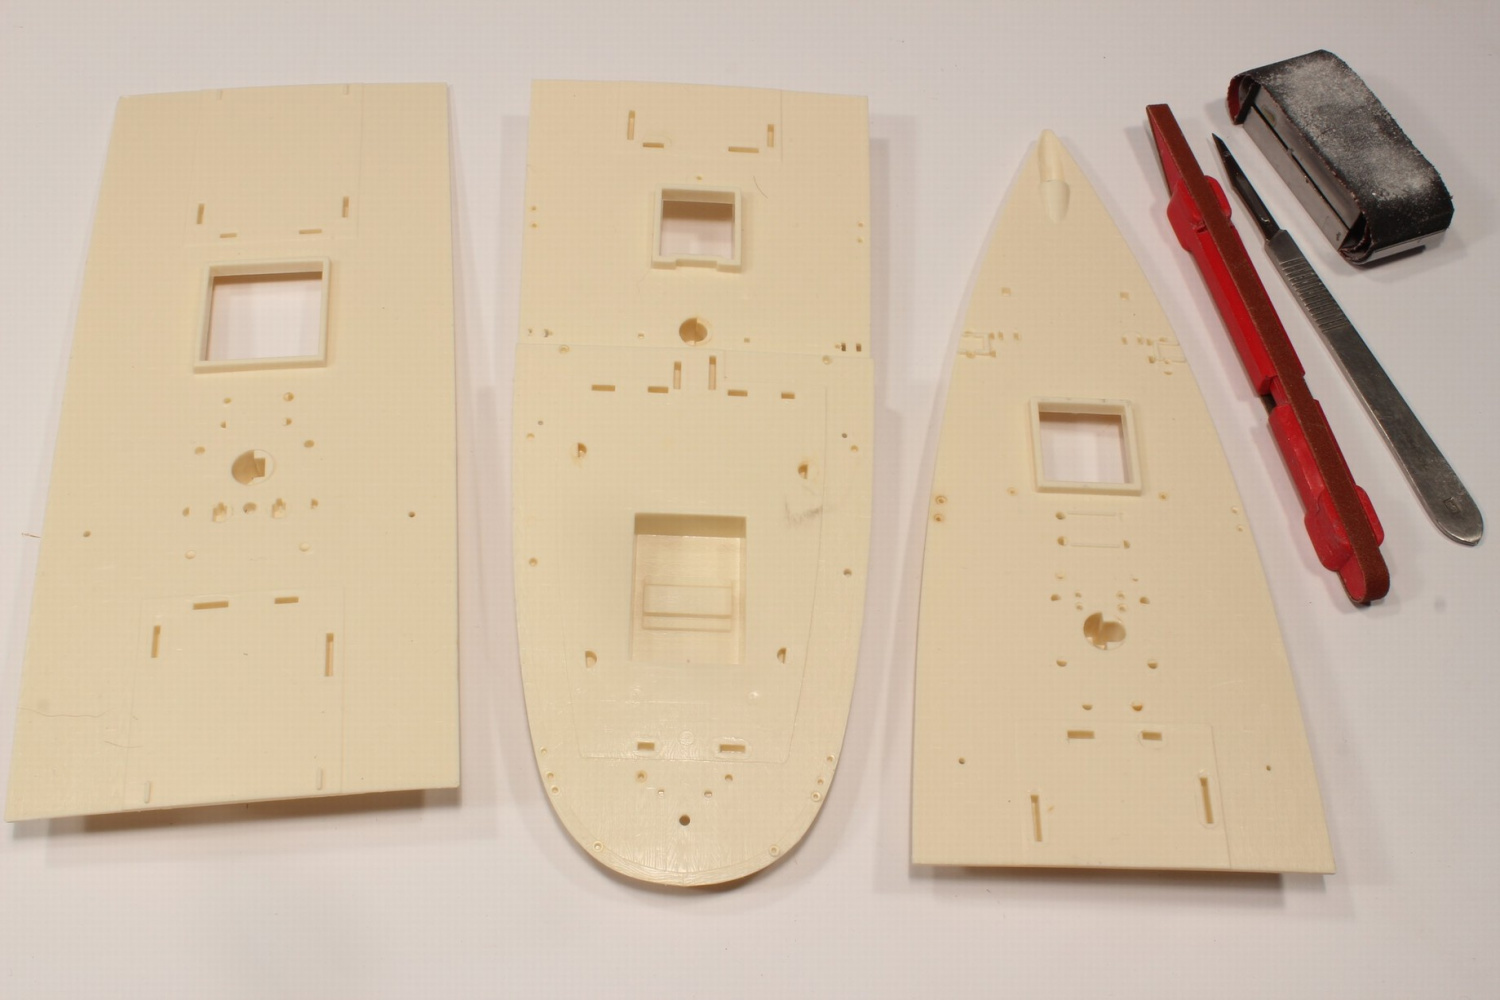 fig. 2
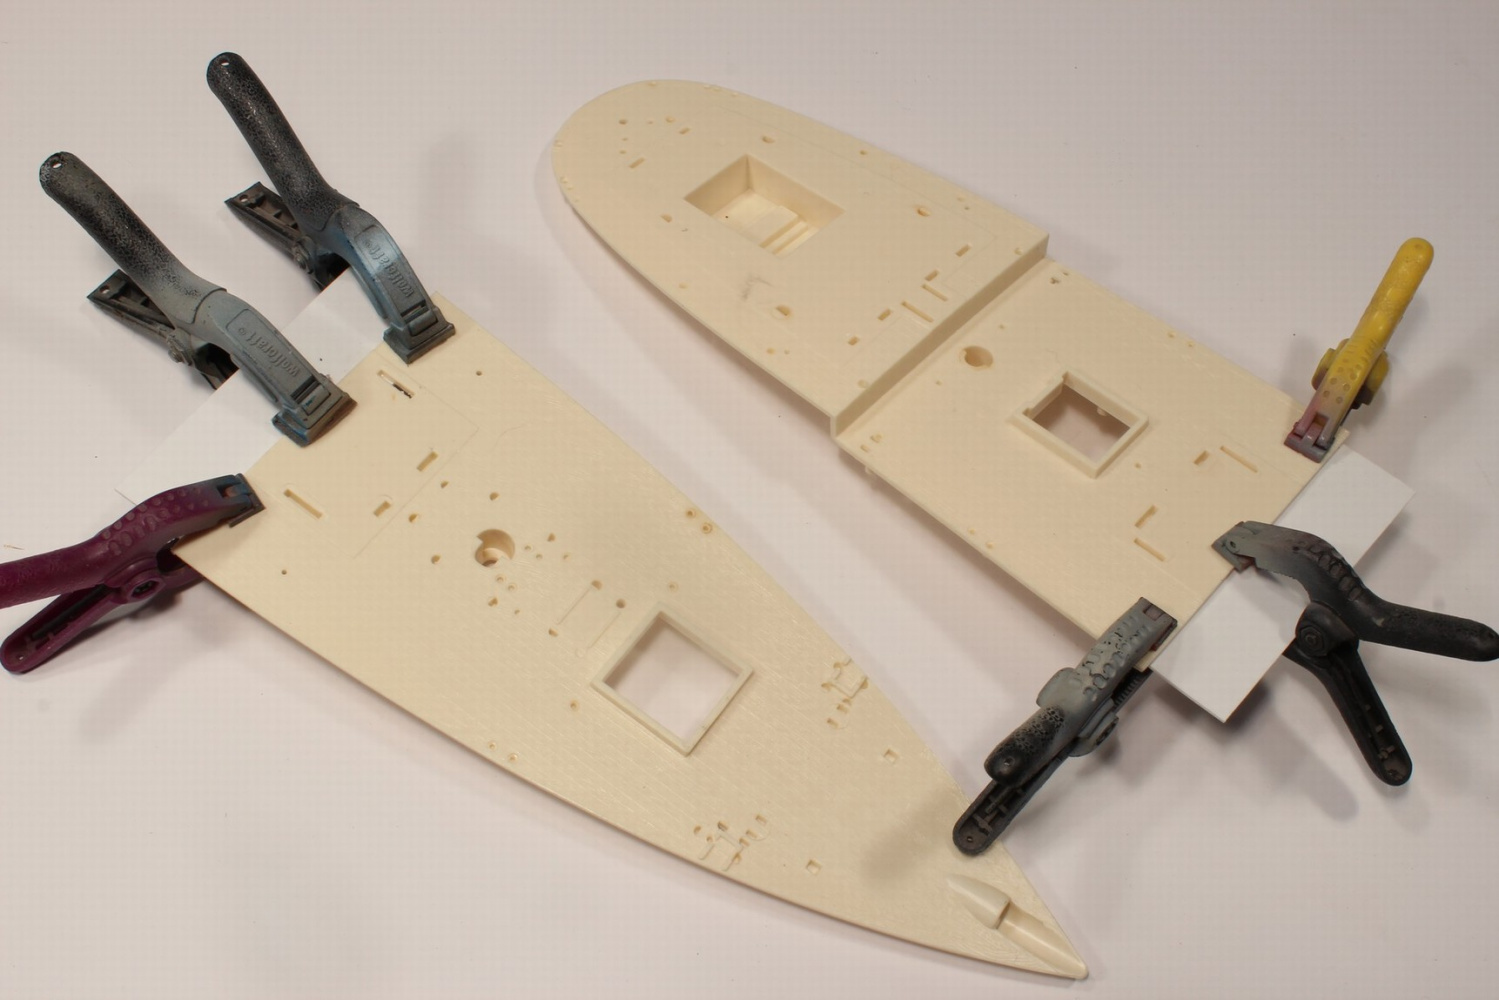 fig. 3
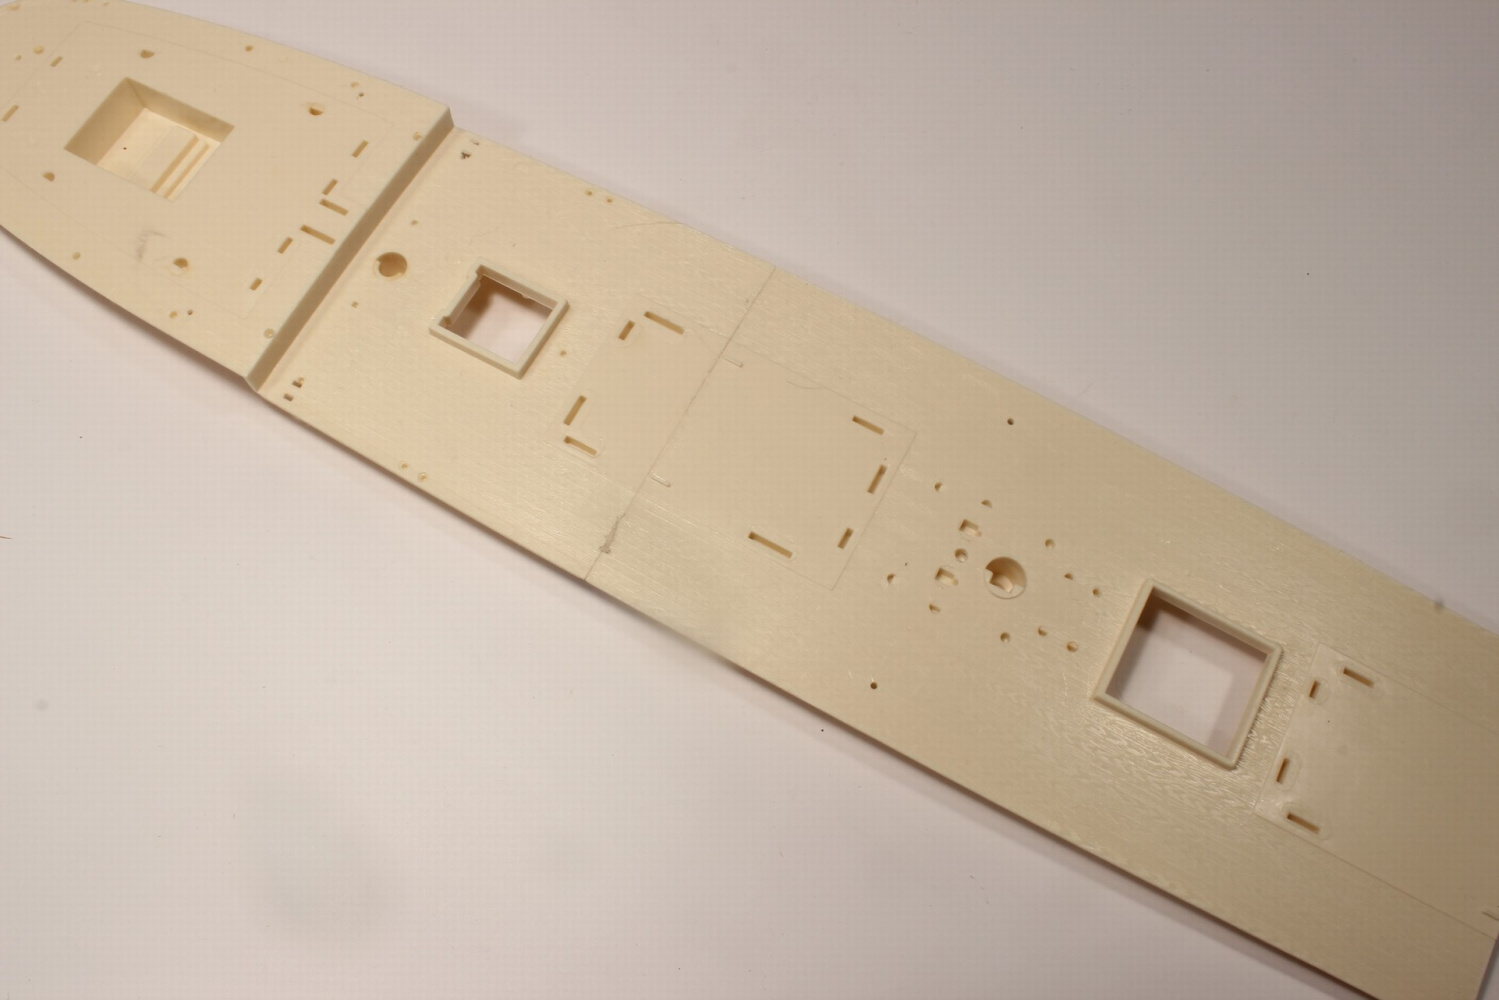 fig. 4
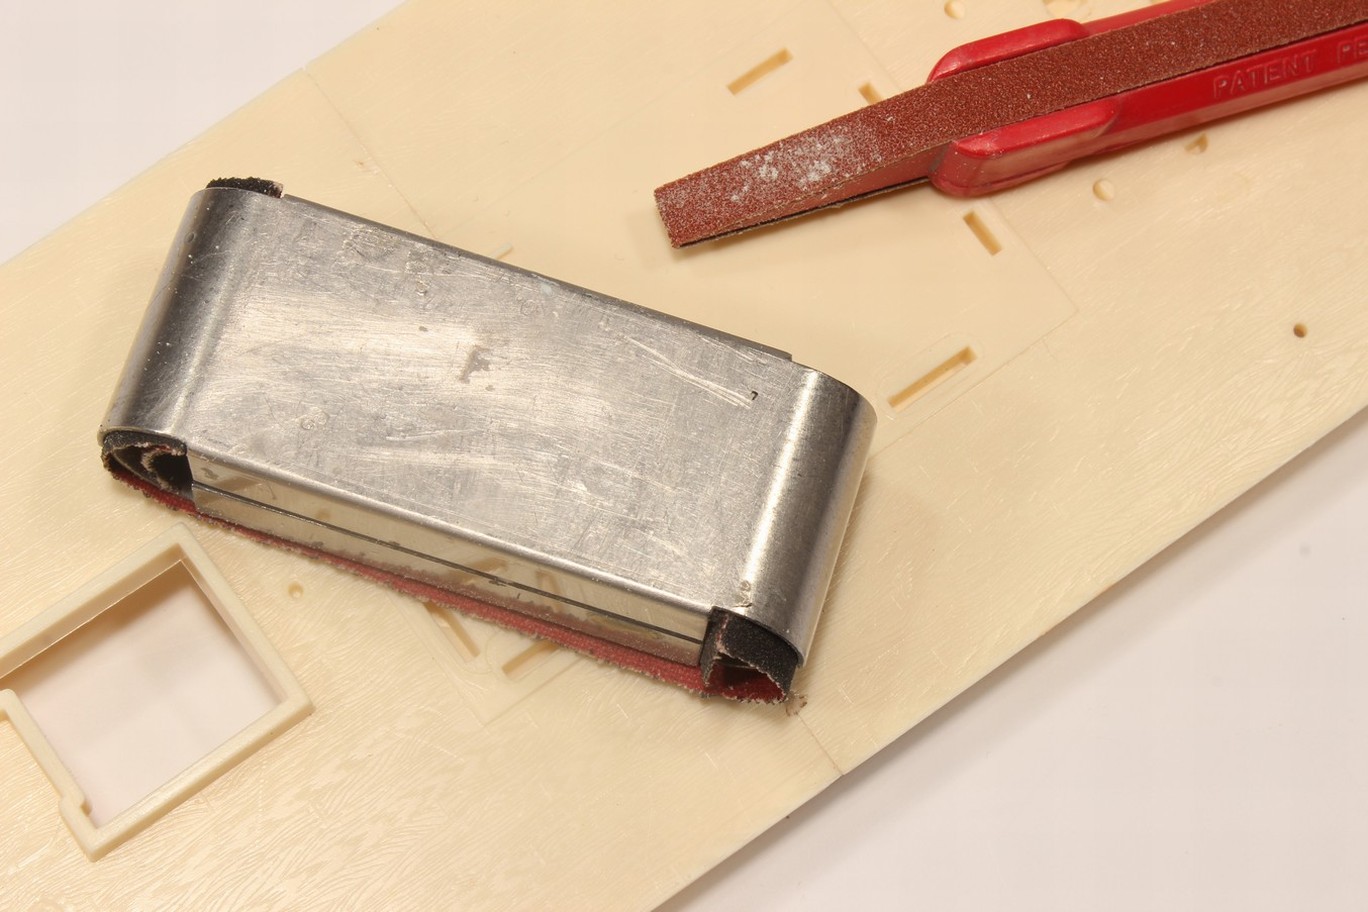 fig. 5
Check the clearance of the holes and apertures used to glue the other parts to the deck so that they are clear for the plastic part.
If the deck is multi-part, fit all parts so that they fit together exactly. If possible, glue the parts together and align the surface of the transitions between the parts (see Figures 2, 3, 4 and 5). I recommend gluing all corresponding plastic parts of decks together for example for USS Kearsarge, CSS Alabama, Cutty Sark and Thermopylae ...
2) Paint the deck to your preference - all the plastic parts of the deck that will be visible after the veneer deck is glued on. These are, boat grilles, deck vents and the such. (see Figure 6)
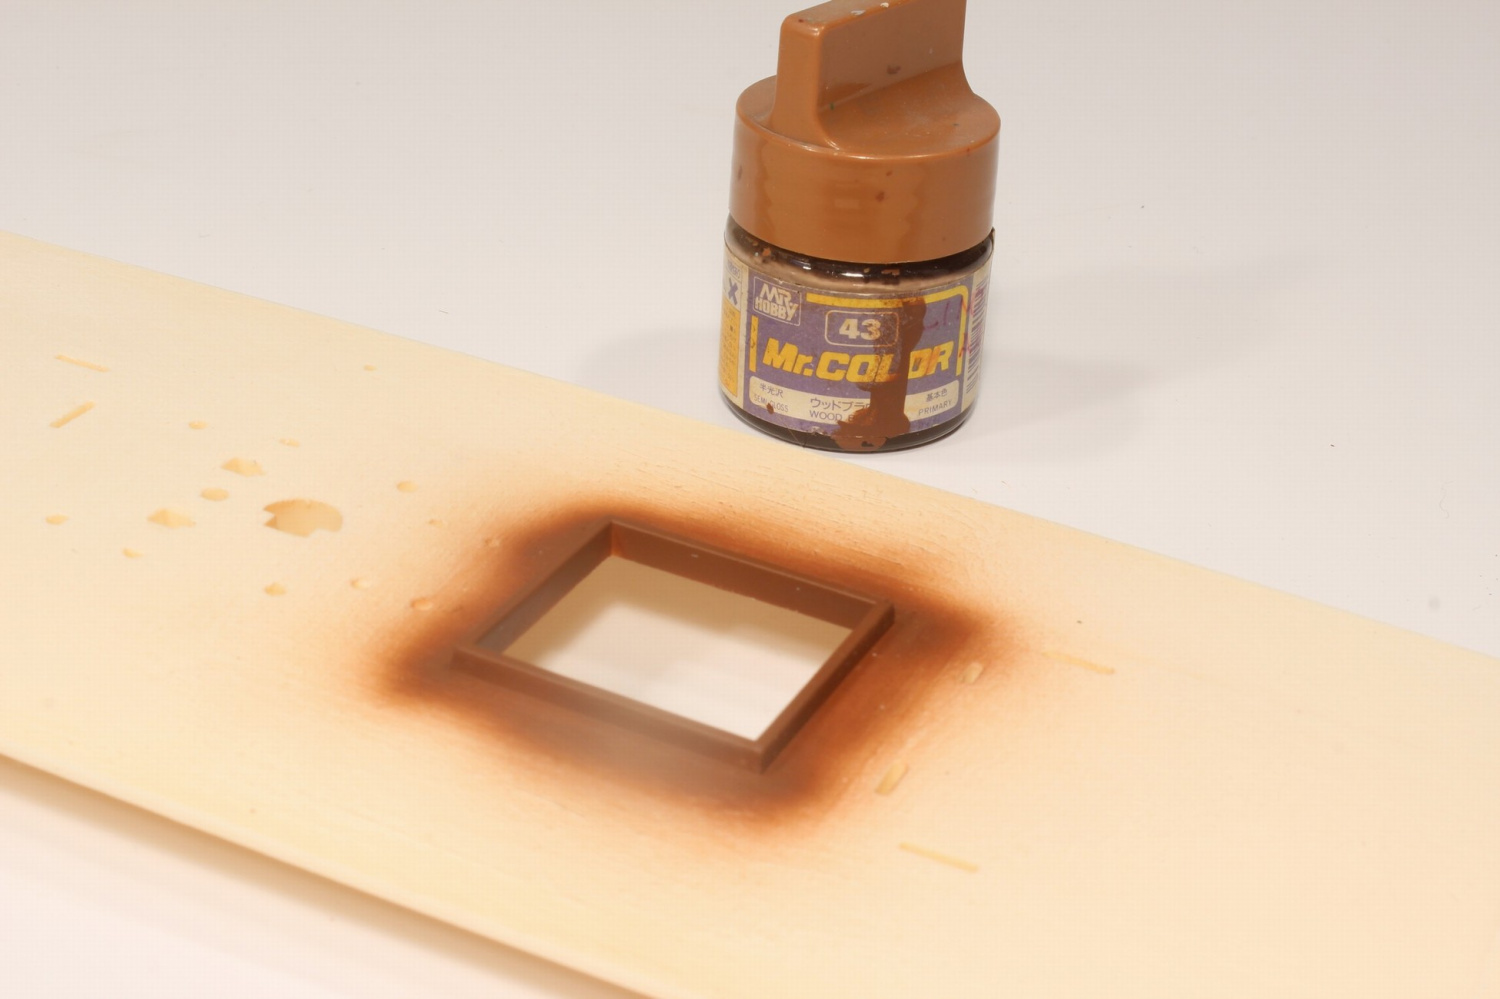 fig. 6
3) Cut the deck with a scalpel from the veneer strip - Cut on a firm, flat base so that the veneer does not warp during cutting! (see fig. 7) If small protrusions remain on the edge of the deck after cutting, they are removed immediately when the part is glued to the split plastic decks already built into the model.
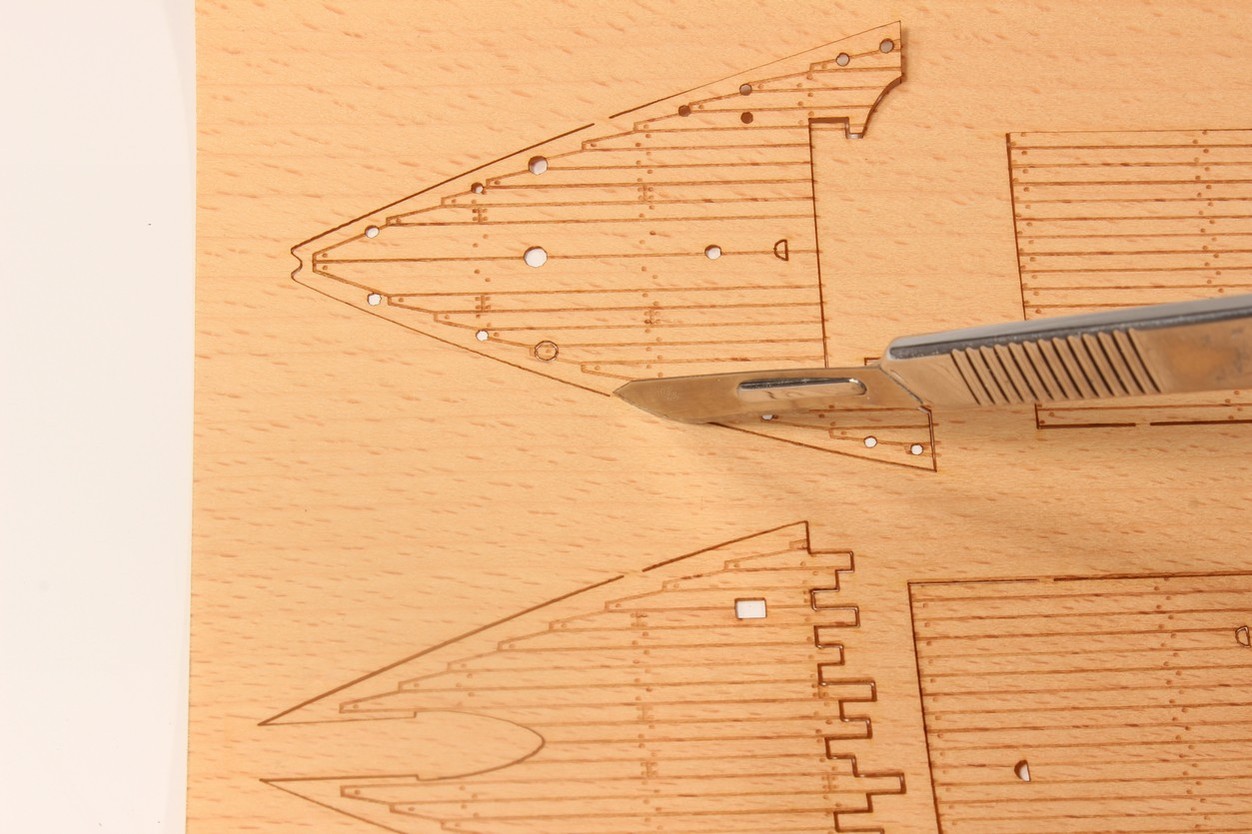 fig. 7
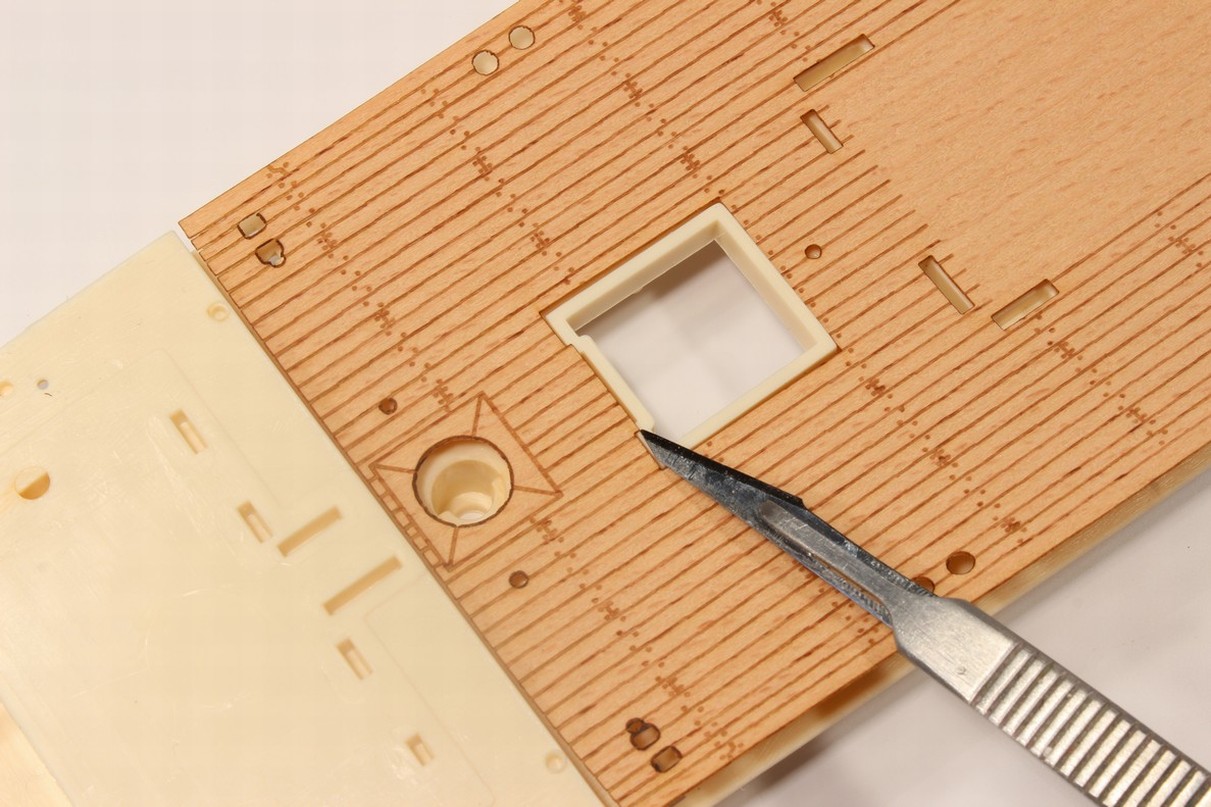
4) Check that the veneer deck fits exactly on the plastic moulding.
If the plastic base is in one piece, the check is simple, and the veneer deck is glued to the plastic base before installation in the model. If the plastic deck is multi-piece, such as the Victory or USS Constitution lower decks, the veneer deck must be checked for "dry fit" in advance.
It may be that due to the expansion of both the plastic and the veneer, small differences will occur and the veneer cannot be accurately fitted to all deck tabs. In this case, sand the plastic part, especially the corner parts near the deck, with a file or adjust with a scalpel (see Fig. 8).
In case you need to adjust the internal holes, you can use a scalpel or a file. Measure exactly how much the veneer needs to be adjusted. Place the veneer on a firm backing suitable for cutting with a scalpel. Attach a guide rail to the cut area. Make the cut itself in a gradual notch, separating up to 3-4 strokes - this will prevent the scalpel from accidentally going off the axis of the cut. If you want to sand the holes with a file, use a fine flat file. Place the veneer on the edge of the table, with the sanded area as close to the edge as possible. From the top, press a firm pad again as close as possible to the sanding point. Then sand in longitudinal strokes, not directly perpendicular to the material.
If the veneer deck does not fit around the perimeter, we make the adjustment after gluing!
5) Spraying with varnish:
Spray the decks with a matte or semi-gloss varnish so that you don't get the deck dirty when you glue it and so that the overflowing glue doesn't stain.
Another possible finish is staining the veneer, which is done before spraying the varnish. For staining, use only an alcohol-based stain that evaporates quickly and prevents the veneer from warping or cracking. Apply the stain in small quantities, ideally using only a damp cloth or sponge.
6) Final preparation before gluing:
To prevent excess glue from leaking through the small holes in the veneer and making spots, seal them with duct tape. Prepare glue in sufficient quantity and means for spreading the glue over the surface of the plastic deck and wiping off the excess glue. Also prepare a roller or other means of applying the final pressure to the plastic substrate (see Figure 9).
Prepare a firm, flat gluing surface and a means to load the glued decks - ideally, clamp the glued layers between firm pads. If you are gluing on plastic decks that are already built into the model, it is advisable to use a bulk material of heavier weight in pliable bags for the load.

7) Gluing:
The most suitable adhesive for bonding veneer decks is a two-component epoxy adhesive. Plastic model glue can also be used, which has a high viscosity and can be spread easily. Suitable glues include Revell Contacta Liquid 39601 or TAMIYA Extra thin, among others regular Pattex or Titebond.
Dispersion adhesives are definitely not preferred as the plastic model deck is a non-absorbent material.
If you are gluing the decks outside the model, spread the glue in a thin layer over the plastic deck. Proceed quickly, using a brush and squeegee to spread. Spread the glue carefully, especially around the edges, internal holes and where other parts are to be glued to the deck. Apply the glue only in a very thin layer!
Once the veneer deck has been applied to the plastic substrate with the adhesive, press it down properly with a roller or other slippery material. Apply pressure by stroking the deck from the centre to the edges. Again, concentrate mainly on the areas around the edges, internal holes and where other components are to be glued to the deck. Wipe off excess glue as you go.
The glued layers can be weighted down on a flat surface or clamped with clamps and left to dry for at least 24 hours.
8) After the layers have dried - remove excess glue from the edges with a fine file (see fig. no. 10). Drill the glue-clogged holes again, drilling from the top as drilling from the bottom could chip the veneer.
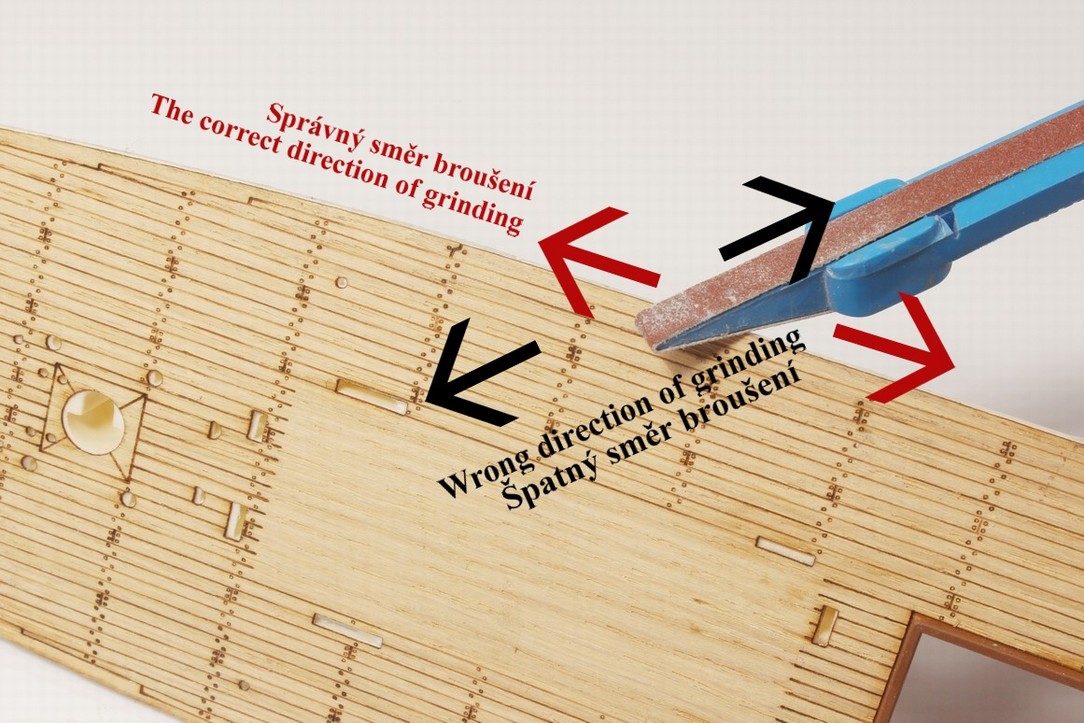 fig. 10
9) Finishing:
For the final finish, use a coating or spray with a covering varnish. I recommend a semi-gloss varnish, which does not attract dust as much as a matt surface.
Have fun and the best possible result of your model.
Radek Beseda